

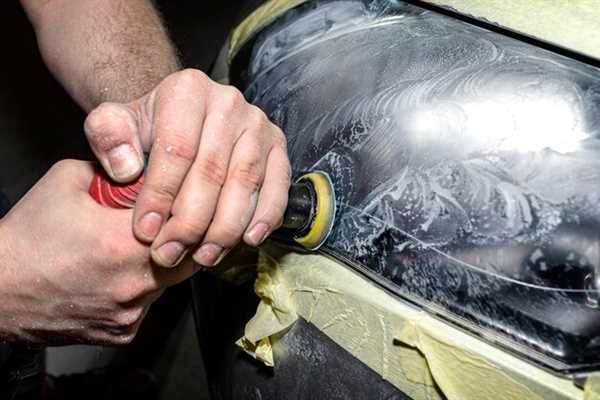
Applying a fine polish is an immediate solution that can significantly improve the appearance of minor blemishes on the clear coat. Utilize a dual-action polisher along with a medium-cut compound for optimal results. Ensure to work in a shaded area to prevent premature drying and maintain the effectiveness of the products.
Begin by thoroughly washing and drying the automobile to eliminate any loose debris or dirt that could impede the polishing process. Once clean, assess the affected areas under proper lighting to determine the extent of the damage. Using a foam applicator pad, gently work the compound onto the surface in small sections, maintaining even pressure throughout.
Afterward, buff the area with a soft microfiber cloth to reveal a restored finish. For added protection, consider applying a high-quality wax or sealant once the surface has dried. This not only enhances gloss but also provides a barrier against future environmental contaminants.
Consistent maintenance through regular waxing and timely attention to flaws will keep your automobile looking its best and prolong the life of its exterior coating. Invest time in a few straightforward steps to keep your automotive investment radiant and well-protected.
Identify the Type of Scratch Before Treatment
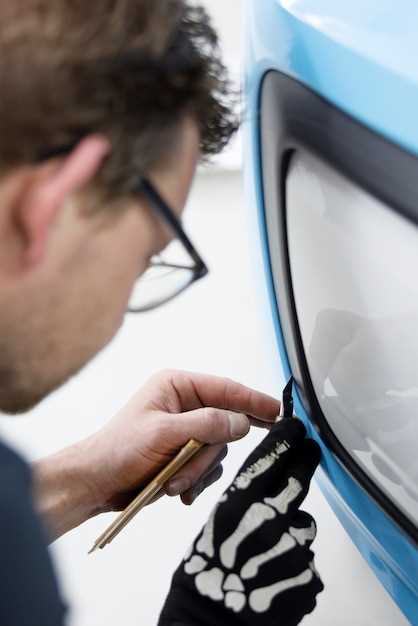
Assess the depth of the abrasion to determine the proper approach. Light marks may be treated with polishing compounds, while deeper indentations may require more intensive methods.
Inspect the scratch closely. If you can feel it with your fingernail, it likely penetrates the clear coat and possibly the underlying layers. Such damage needs specialized techniques for effective correction.
Color is also a key indicator. If the scratch reveals the vehicle’s base color or primer, it indicates a deeper issue that requires touch-up paint or even professional assistance for full resolution.
Take note of the location. Scratches on edges or raised surfaces are typically harder to treat than those on flat areas. This factor may influence the choice of tools and products suitable for the task.
Finally, consider the finish type. Matte or satin finishes require different products than glossy ones. Utilizing the wrong materials can lead to further damage, so ensure compatibility with the vehicle’s existing finish.
Choose the Right Products for Scratch Repair
Opt for specialized kits that focus on blemish elimination. These should include products formulated for specific paint types, such as clear coat, enamel, or metallic finishes. Look for high-quality compounds, polishing pads, and microfiber cloths to enhance the polishing experience and achieve a flawless outcome.
Additionally, consider the following points before making a purchase:
- Read customer reviews to gauge the reliability of the products.
- Check compatibility with the vehicle’s coating to avoid damage.
- Assess the removal techniques recommended by the manufacturer.
Make informed decisions to protect and enhance automotive aesthetics effectively.
Step-by-Step Process for Polishing Out Scratches
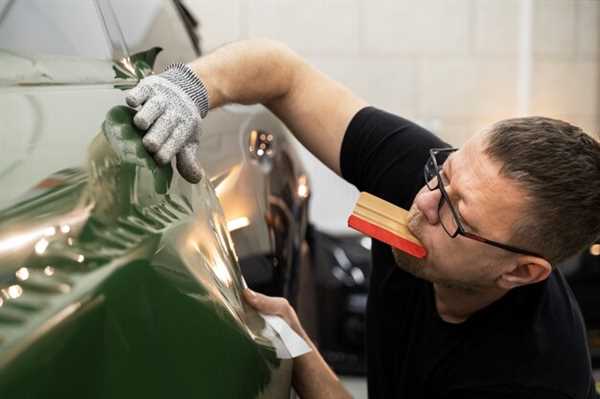
Gather all necessary supplies: a dual-action polisher, polishing compound, microfiber cloths, and a clean bucket of water. Ensure you have a suitable work area, preferably in a shaded location to avoid direct sunlight affecting the compound.
Before applying the compound, wash the entire vehicle thoroughly. Use a gentle soap to eliminate dirt, grime, and debris. Dry the surface with a microfiber towel, ensuring no residue remains that could interfere with the polishing process.
Inspect the scratches closely. Determine their depth and identify whether they are surface-level or deeper. This evaluation helps in choosing the right polishing compound and method for correction.
Apply a small amount of polishing compound to the pad of the dual-action polisher. Start with a lower speed setting on the tool to control the application. Work in small sections, about two square feet at a time, moving the polisher in overlapping passes.
Once the polishing cycle is complete on each section, switch to a clean microfiber cloth to wipe away excess residue. Take care to inspect the results after polishing each area, ensuring the scratches are blending into the finish as desired.
If necessary, repeat the process on particular spots that might still show imperfections. Adjust the pressure and speed of the polisher according to the results achieved, and remember not to apply excessive force.
Finally, apply a quality wax or sealant to protect the treated area and enhance the overall sheen. This step ensures longevity and a brilliant appearance, keeping your ride looking immaculate after addressing the imperfections.
