

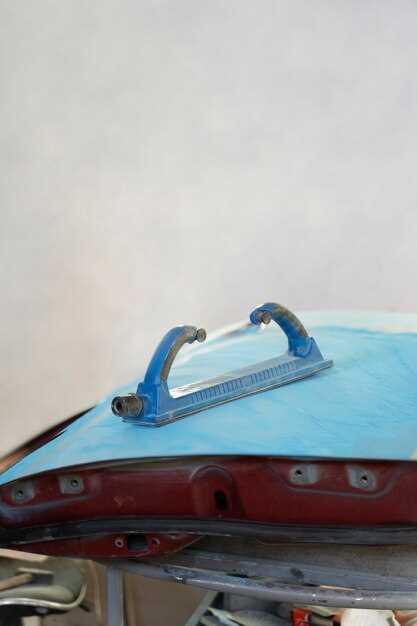
Focus on utilizing a combination of metalworking skills and modern tools for optimal results. Begin by assessing the condition of each section, identifying rust spots and dents. For minor imperfections, a quality body filler can be an effective solution. Select a product that sands well and adheres securely to the metal.
When faced with severe damage, consider replacing sections with new metal to maintain structural integrity. Acquire OEM or aftermarket parts that match the original design. Precision cutting tools will ensure clean edges for a seamless fit. Always prioritize proper alignment to preserve the vehicle’s aesthetic appeal.
Welding techniques can vary; however, using a MIG welder is often recommended for its ease of use and effectiveness in both thin and thicker materials. Master the art of tack welding to control heat distortion. After welding, sand the seams and apply a rust preventive treatment to safeguard against future corrosion.
Finishing touches are paramount. Apply paint that matches the original color code of the car for an authentic look. Wheel maskers, along with a spray gun, can help achieve a professional-grade finish. Be sure to let each coat cure fully before applying subsequent layers.
Assessing Damage: Identifying Repairable Sections
Begin by inspecting for surface rust, dents, or corrosion. A magnet can be handy; if it doesn’t stick, there’s likely body filler beneath. Check vulnerable areas like wheel arches, doors, and the underside of the chassis. Document all findings and use a flashlight for better visibility in tight spots.
- Prioritize areas with minor imperfections or surface-level issues.
- Mark regions needing repair or replacement.
- Evaluate the integrity of support structures and welds.
- Assess the feasibility of repairing damaged sections versus replacing them entirely.
Be cautious not to overlook hidden damages. Often, internal rust or structural issues remain concealed until disassembly. Carefully remove trim and panels to reveal the complete picture; this will help in making informed decisions about what can be salvaged and what must go.
Welding Techniques for Classic Car Panel Restoration
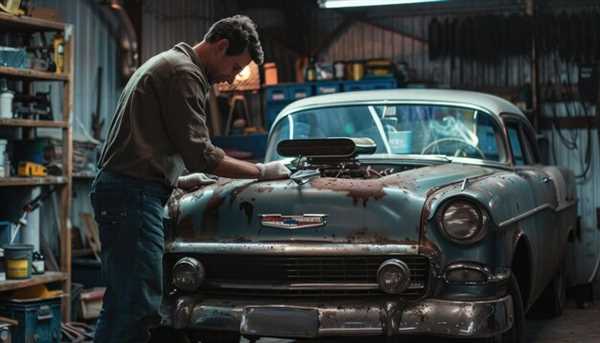
Begin with MIG welding for its ease of use and adaptability. This method allows for quick assembly while providing a strong bond between metal components. Select a gas mixture of 75% argon and 25% CO2 for better penetration and a cleaner finish.
Tack welding is vital during assembly. Create small, strategic welds at various points to hold parts together before final welding. This approach minimizes warping and ensures alignment, crucial for maintaining the vehicle’s original contours.
For more intricate work, utilize TIG welding. This technique delivers increased control, allowing you to join thinner materials seamlessly. It also produces a neat appearance, which is especially important when working on visible areas.
Prioritize surface preparation. Clean and sand the edges of the metal for optimal fusion. Remove rust, paint, and any contaminants to ensure that the weld penetrates fully, resulting in a more durable connection.
Consider the metal thickness. Adjust the welding settings accordingly to avoid burn-through on thin sheets. Practicing on scrap metal can help you gauge the correct amperage and feed speed necessary for your specific project.
Use clamps to secure your workpieces. This helps maintain stability and guarantees a straighter weld, especially in larger assemblies. Ensure that the materials do not shift during the welding process.
Finally, inspect the welds thoroughly after completion. Look for gaps, inconsistencies, or signs of weakness. Sand any rough edges and apply primer to protect against corrosion, ensuring the longevity of your craftsmanship.
Finishing Touches: Painting and Rust Prevention
Choose a high-quality rust-inhibiting primer before applying any paint. This step is non-negotiable for ensuring protection against corrosion. Apply the primer using a spray gun or a brush, ensuring an even coat. Allow it to completely dry as per the manufacturer’s instructions before moving on to the color application.
Once dried, use a sandpaper with fine grit to lightly scuff the primer surface. This allows the paint to adhere better, creating a more durable finish. After sanding, wipe down the surface with a lint-free cloth to remove any dust particles that may affect the paint job.
For the color coat, choose automotive paint specifically designed for your type of car. Apply multiple thin layers instead of a single thick one to avoid drips and runs. Let each layer dry before applying the next, ensuring optimal adhesion and a flawless finish.
For long-lasting protection, consider adding a clear coat after the color has cured completely. This additional layer enhances shine while providing extra defense against environmental elements. Regularly inspect the surface for any signs of wear or damage, addressing issues immediately to maintain your vehicle’s integrity.
