


If your vehicle has sustained damage, the first action is to assess the extent of the harm. An inspection from a certified technician will identify issues such as frame misalignment, dents, or paint scratches. This evaluation is crucial for determining the necessary services needed to bring your vehicle back to its original condition.
Following the evaluation, the next phase involves disassembly. Components such as bumpers, fenders, and doors may need to be removed to address hidden damage. This step ensures all affected areas are accessible for thorough evaluation and subsequent work.
Once disassembly is complete, the process shifts to correction. This involves repairing or replacing damaged parts. Techniques like pulling out dents, straightening frames, or replacing panels are common in this stage. The goal is to restore the vehicle’s structural integrity and safety standards.
After the physical corrections are made, attention turns to surface refinishing. Sanding, priming, and repainting are essential to achieve a seamless appearance. This meticulous process provides the final touch, ensuring the vehicle looks as good as new.
Finally, the vehicle undergoes a thorough inspection and quality control check. This step ensures that all repairs meet industry standards. Once confirmed, your vehicle is ready for collection, allowing you to return to the road with confidence.
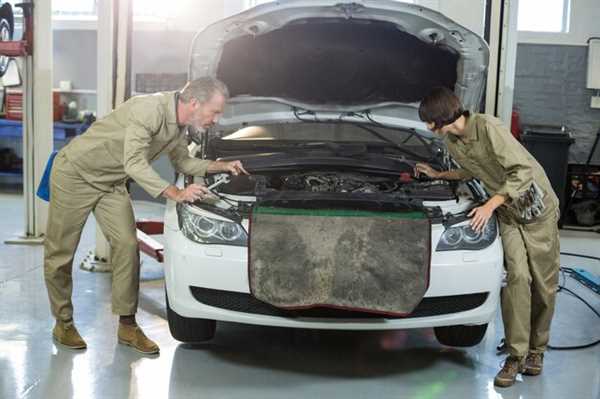
Initial Assessment and Damage Analysis
Begin the evaluation with a thorough inspection of the vehicle to gather precise information about the impact and subsequent harm. Check for visible dents, scratches, and any structural deformities on the exterior surfaces.
Next, focus on the alignment of the vehicle. Misalignments can signal deeper issues that often remain hidden at first glance. Use a measuring tool to assess whether the frame is straight or if it has been compromised.
- Check all body panels for uneven gaps.
- Look for abnormalities in door operation and gaps.
- Assess the condition of windows and mirrors for cracks or displacements.
Examine the undercarriage for any damage to components such as the suspension and exhaust systems. These areas are frequently overlooked but can greatly affect safety and performance.
If the vehicle has advanced technology features, ensure that electronic systems are functional. Components like sensors, cameras, and driver assistance features must be calibrated correctly post-impact.
- Document all findings meticulously.
- Photograph any significant damage for records.
- Compile a detailed report outlining the necessary actions for restoration.
Consult with specialists, if necessary, to get a well-rounded analysis of potential internal damage. Engaging with experts can provide insights into hidden complications that may not be evident during an initial check.
Finally, present all findings to the vehicle owner with clarity and transparency. Discuss the implications of each damage type and suggest comprehensive solutions tailored to restore the vehicle’s optimal condition.
Structural Repairs and Frame Alignment

First, assess the extent of damage to the vehicle’s structure. Use precise measuring tools to determine any distortions or misalignments in the frame. This stage is critical, as accurate measurements will guide all subsequent work. Document findings thoroughly to maintain a clear record for reference.
Once the evaluation is complete, proceed with straightening the frame. Specialized equipment, such as frame machines and pulls, can address bends or twists. Ensure the vehicle is secured properly during this process to avoid further complications. It’s imperative to achieve factory specifications for alignment to ensure optimal performance and safety.
After realigning, inspect all structural components for hidden damages. Replace or repair any affected areas to maintain the integrity of the vehicle. This process may involve welding and using reinforced materials to meet safety standards. Attention to detail in this phase ensures that the vehicle can withstand future impacts.
Finally, conduct a thorough review and fine-tune adjustments. Use computerized alignment systems to verify precision and make necessary corrections. This final check solidifies the foundation of the vehicle’s restoration, ensuring it meets safety requirements and drives smoothly. Adhering strictly to these steps will result in a reliable vehicle ready for the road.
Painting and Finishing Touches for Restoration
Proper surface preparation is crucial before applying paint. Ensure that the area is clean and dust-free. Use sanding tools to smooth rough spots and any uneven surfaces. A primer coat helps the paint adhere better and provides a uniform finish. Depending on the paint type, consider using a base coat to enhance color depth and coverage.
Choose high-quality automotive paint that matches the vehicle’s original color. Use a spray gun for even application, holding it at a consistent distance for optimal results. Multiple thin coats prevent runs and drips, allowing for better control. After the paint dries, inspect for imperfections and perform wet sanding to create a smooth surface. Follow up with a clear coat to provide shine and protection against environmental factors.
Finishing touches include polishing the painted surface to enhance gloss and remove any minor scratches. Employ a dual-action polisher for best results, along with appropriate polishing compounds. Regular maintenance through washing and protective wax will prolong the life of the new finish, ensuring that the vehicle not only looks great but remains resilient against the elements.